Today, I’ll be reviving a traditional interior door painting technique; complete hand-brushing reminiscent of the method I used when I first started painting. The contemporary approach of rolling out hollow core doors with latex trim paint is common, but lacks the exceptional results achievable with our time-honored method. While it may take a bit longer, the astonishing outcome will speak for itself when you compare a rolled door to our meticulously hand-brushed door.
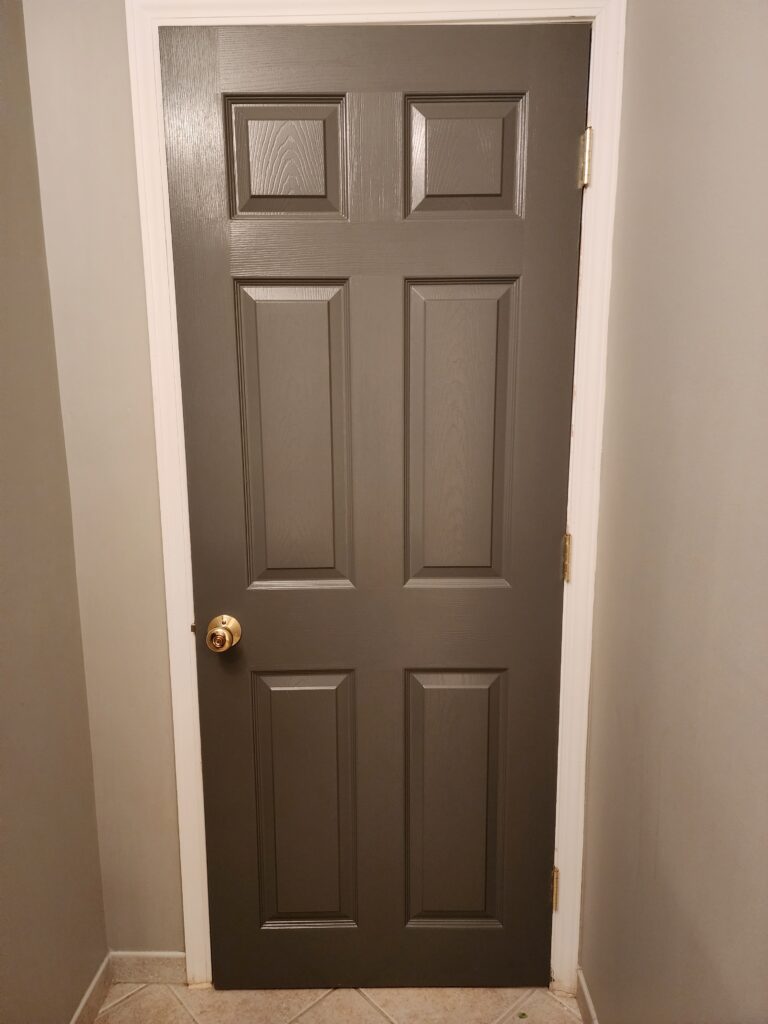
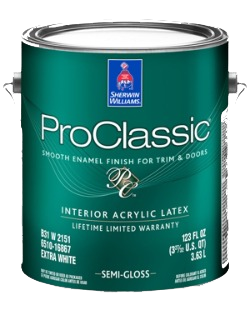
It seems that interior door painting trends are leaning towards black and dark gray colors at the moment, so that’s the direction we’ll be taking. I’m going to use “Pro-Classic Semi-gloss” from Sherwin-Williams in the shade Behr’s “Welded Iron.”
Watch It On Video
To prepare for painting the interior door, let’s organize our materials. For this project, we’ll require a brush. I highly suggest using a professional fine bristle polyester brush. I will be using a 3” flat brush, but feel free to select the one that suits you best. This project will require a 100 grit sanding sponge or sandpaper to prepare the surface. Additionally, you’ll need a cut bucket, along with a 1 ½” masking tape, utility knife, a couple of rags, a drop cloth and a gallon of paint. These items will ensure that you have everything necessary for the task at hand.
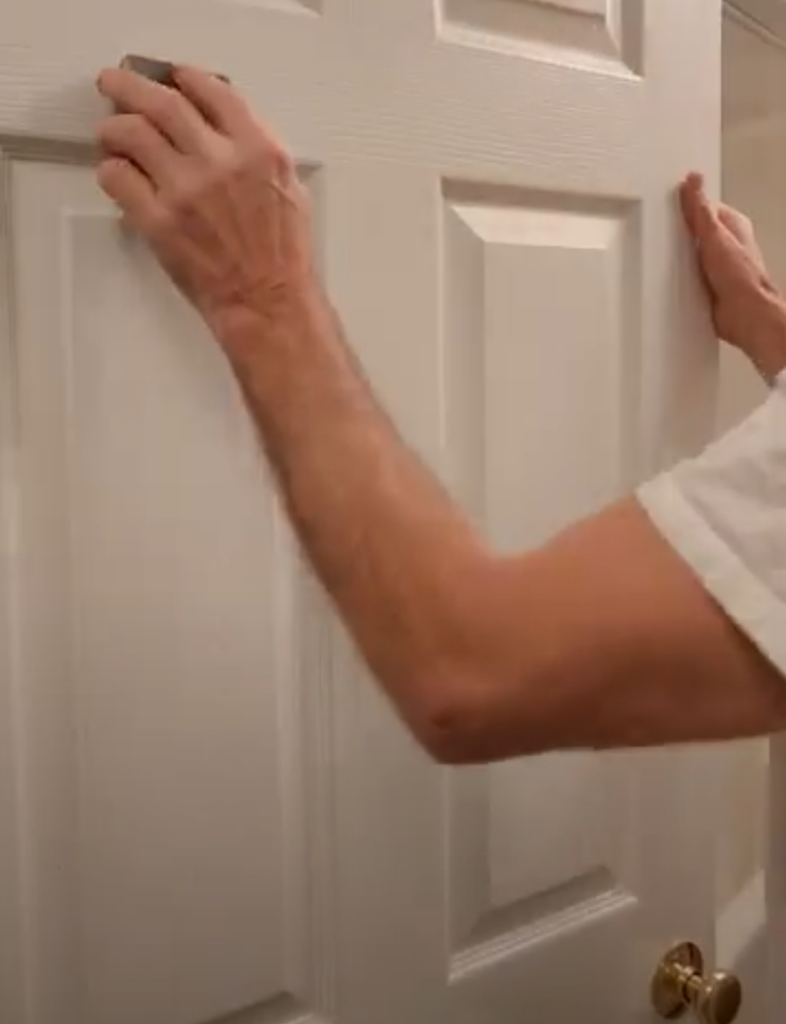
Next, we’ll proceed with gently sanding the door. Our goal is to carefully remove any imperfections, lint, and roller texture so that they won’t be any imperfections visible through the paint. It’s important to avoid sanding too aggressively and causing damage to the wood grain texture. Take a damp cloth and remove all the dust off of your door when you’re complete.
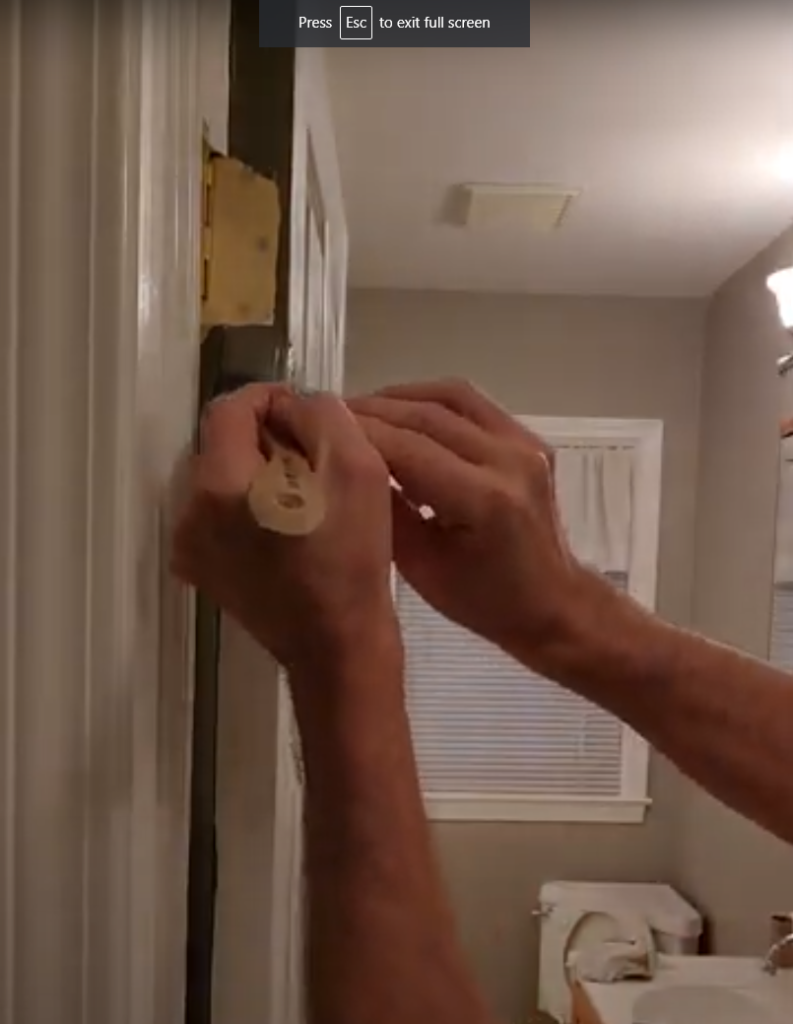
Prepare by taping the door hinges and removing the door knob. Wrap masking tape around the door knob if you choose to leave it on, ensuring it doesn’t touch the door to avoid leaving a ring of old white paint exposed around the knob once the painting is complete. Similarly, apply tape over the hinges and use a utility knife to cut out any overlapping tape. These preparations will ensure a smooth and professional finish when painting the interior door.

To begin painting the interior door, start by generously coating the first edge with paint, ensuring full coverage on all surfaces and outer edges. Then, without dipping, gently glide the flat side of the brush from bottom to top for a smooth final stroke. For best results, it’s important to avoid starting any finishing strokes in the center. Repeat this process for the remaining edge.
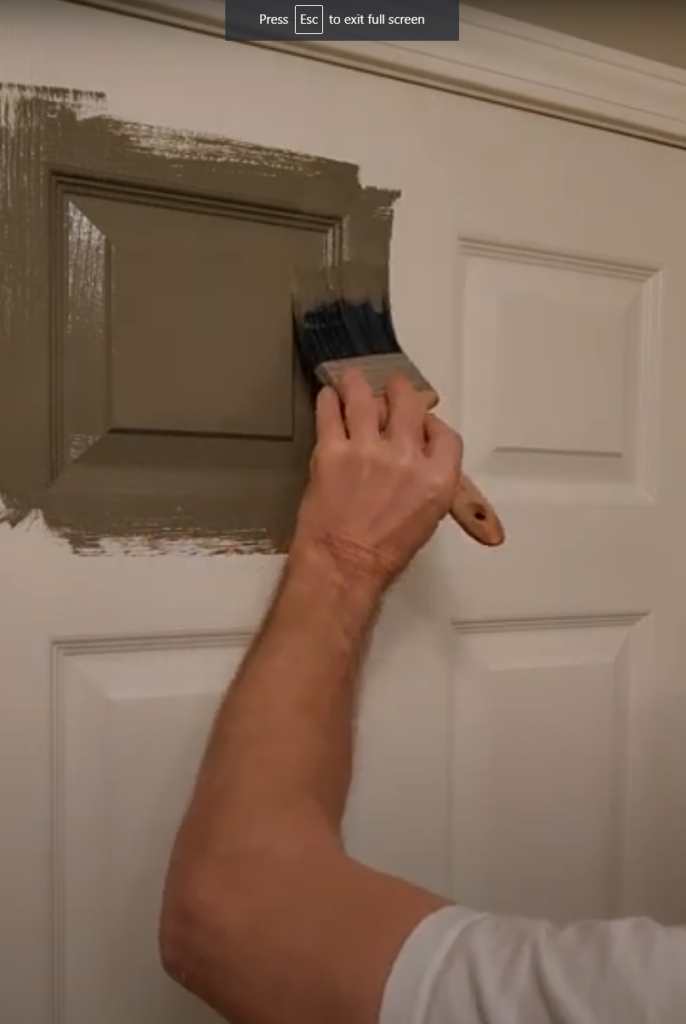
Using the diagram, we’re going to start painting the front of the door. Starting with the top-left panel, dip your brush in paint and begin spreading it out through the grooves, then the flat square, ensuring a generous application and overlapping the outside of the panel slightly. If you encounter any resistance while spreading the paint, simply dip your brush again. Once the panel is fully coated, apply a final stroke by gently running the flat side of the brush along each groove from one end to the other, always brushing with the grain. Then, repeat this process from top to bottom across the flat, avoiding starting any finishing strokes from the center. Subsequently, repeat these steps for the top-right panel. Next were going to repeat this process with the top mullion. Again, spread the paint out until it’s completely covered and overlapping the ends. Then run a finishing strokes from top to bottom, making sure to overlap the ends.

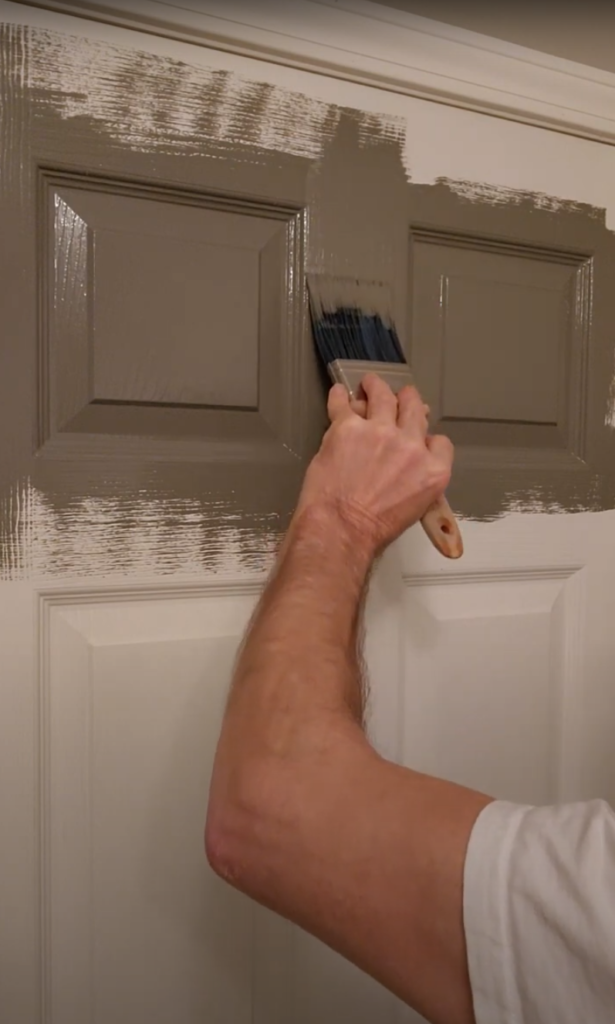
We are going to do the same with the top rail of the door making sure to slightly overlap the ends.

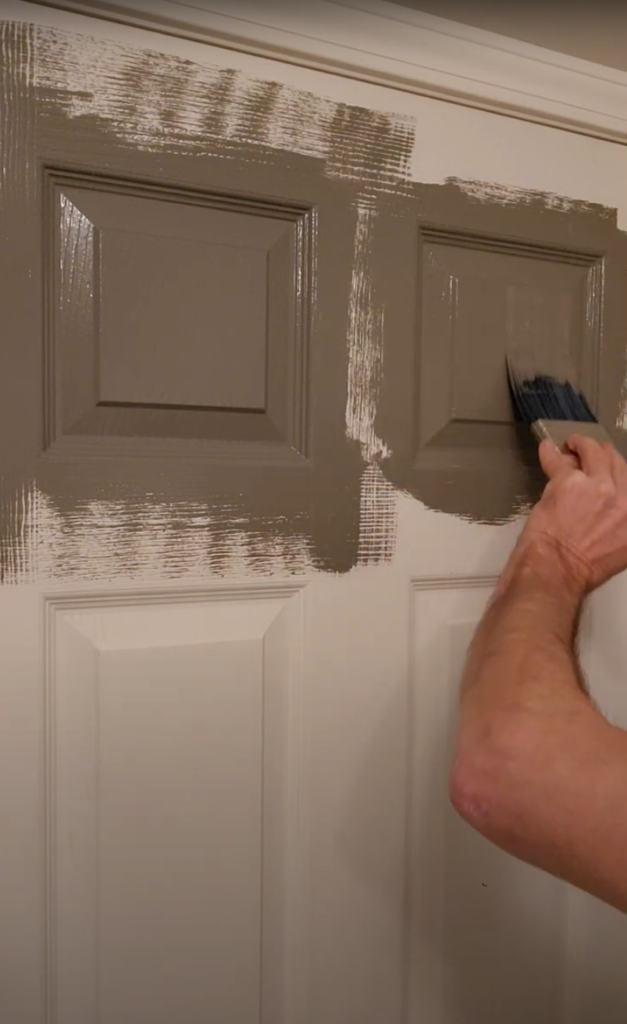
Using the same process, we are going to continue painting the entire face of the door in the following order: the middle-left panel, middle-right panel, middle mullion, top – mid rail, bottom – left panel, bottom – right panel, bottom mullion, bottom – mid rail, bottom rail, lock style, and finally the hinge style.
One hour after completing the interior door painting, make sure to return to address any drips that may have occurred. It’s typical to have small drips form in the corners of your panels. Use the corner of your brush to gently smooth them out. You shouldn’t have any more drips form after an hour.
Once complete, repeat the process for the backside of the door. Because we are going from light to dark, we are going to apply a second coat when it’s dry (24 hours) repeating the painting process above. Once your second coat is dry to the touch, you can remove the tape. Be very gentle with your doors as it may take up to 2 weeks for the paint to completely harden.